Your Guide to a Smarter Home

Creating Scenes in Savant

Introduction

As we step into the future, smart home automation has significantly influenced our lifestyles. It adds convenience, increases energy efficiency, and enhances our homes’ security. Savant has been at the helm of this transformative era rendering homeowners the power to design their own innovative scenes from the comfort of their iPad. As a value added distributor of luxury smart home automation brands, we provide solutions that are not just smart, but intelligent. In this blog post, we explore how to create scenes in Savant, ensuring a unique, personalized home environment.

Creating Your Savant Scenes:

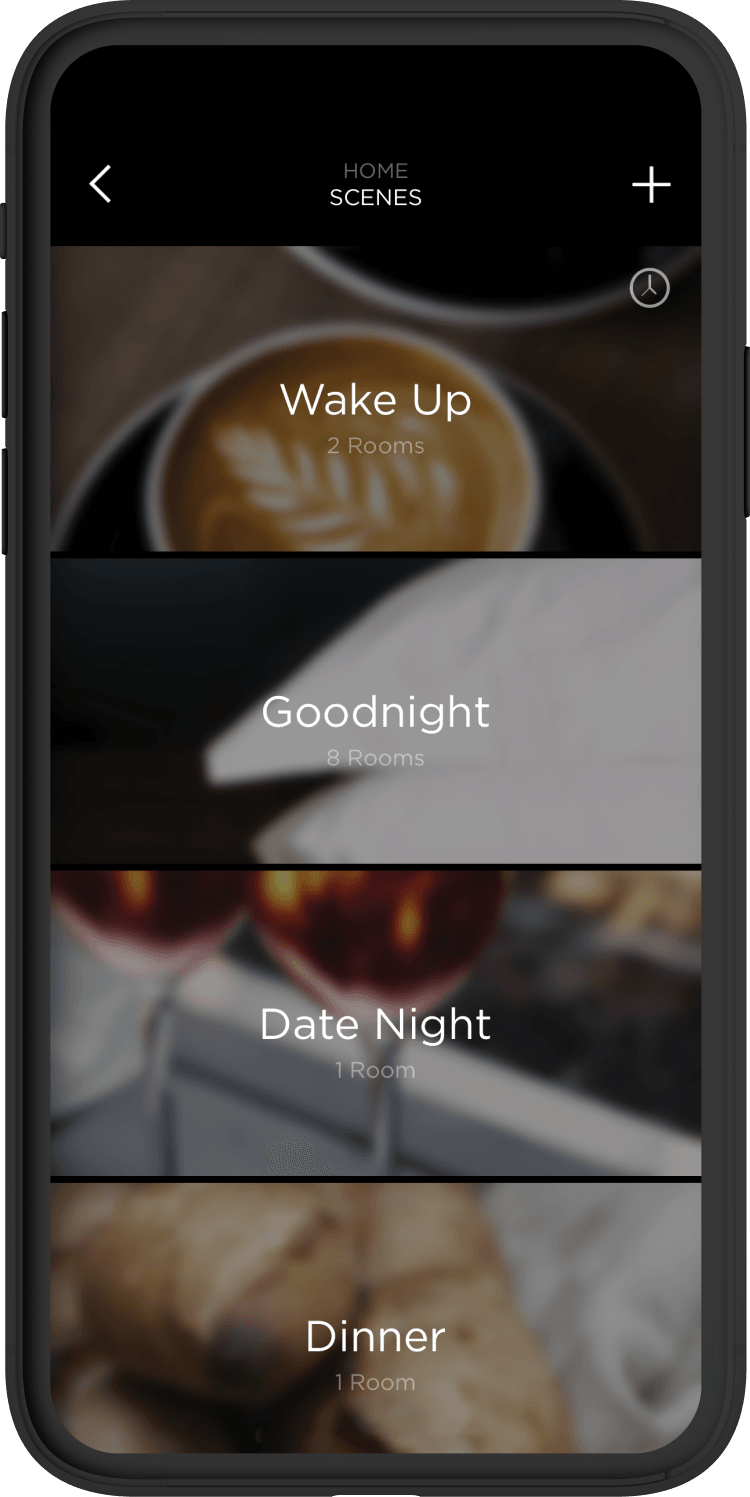
Step 1: Open Savant App

The Savant App is the primary method of controlling your smart home system. You can install the Savant App on any Android or iOS device such as a smartphone or tablet. To open the Savant App, locate it on your device’s home screen or in your app drawer, then tap on the app’s icon.

When you initially launch the app, you may need to log in with your account details, including the email and password that you used when setting up your Savant system. If you didn’t log out the last time you used the app, it should open to the last screen you were on.

Step 2: Access the Main Menu : The Main Menu in the Savant App provides you with various settings and options. It’s the jumping-off point for controlling and customizing many elements of your Savant smart home system.

Features available in the main menu may include ‘Rooms’, ‘Services’, ‘Scenes’, ‘Schedules’, ‘Notifications’, and ‘Settings’. In this case, as per your guide to create a scene, you’d navigate to ‘Scenes’.

Step 3: Navigate to the Scene Interface

Once you access the main menu, you’ll notice numerous options related to various aspects of your Savant system. One of these options will be labeled ‘Scenes’. When you select ‘Scenes’, you’ll be taken to a new interface within the Savant app—this is the scene interface.

The scene interface is where you can manage all the “scenes” you have created or wish to create. A “scene” in this context refers to a specific configuration of your smart home system where multiple devices function simultaneously according to predefined settings. For instance, a “morning” scene might gradually increase light brightness, play your morning playlist, and start the coffee maker.

Step 4: Initiate New Scene Creation

Within the scene interface, you’ll likely see a list of your existing scenes, if you have any. To create a new scene, look for a plus sign (+) icon—most often found in the bottom right corner of the interface.

Tapping this plus sign initiates the scene creation process. It will lead you to yet another interface where you can set the various parameters for your new scene.

Step 5: Determine Scene Settings

At this stage, you’re able to choose which aspects of your smart home you’d like to control with the new scene. Depending upon your system configuration and connected devices, you can control a wide variety of smart home features.

Common options include lighting (brightness, color, whether the lights are on/off), music (which song or playlist is playing, the volume), and temperature settings (through a smart thermostat). However, the possibilities can extend beyond this, incorporating other smart devices such as window shades, televisions, or even kitchen appliances.

As you decide on the settings for each aspect of your scene, always consider the purpose of the scene. For example, if you’re creating a ‘Movie Night’ scene, you might choose to dim the lights, lower the window shades, set the thermostat to a cozy temperature, and have your television automatically turn to your preferred streaming app.

Step 6: Select Devices

When creating a new scene in the Savant App, one of the key steps is to choose which devices you want the scene to control. After initiating the scene creation process, the Savant system will display a list of all devices that are connected to it and eligible to be included in the scene.

From this list, you can select one or multiple devices depending on your preferences and the purpose of the scene. Keep in mind that the aim of creating a scene is to make multiple devices work in harmony to create a certain atmosphere or facilitate a specific function, so consider how each device can contribute to your end goal.

Step 7: Customize the Scene

After selecting your devices, the app allows you to set the “status” or “level” for each device in the scene. Status refers to whether the device is on or off, while level could relate to various settings depending on the device type, such as brightness for lights, volume for speakers, or temperature for thermostats.

Consider the function of each chosen device in the context of the scene you’re creating. For instance, a ‘Movie Night’ scene could include dimmed lights, a comfortably warm room temperature, and the launch of your preferred streaming app on your smart TV, all while playing your favorite movie soundtrack in the background.

Step 8: Save and Name the Scene

Now that you’ve selected your devices and determined their settings for the scene, it’s time to save your work. Before you do so, you will need to give your new scene a name.

Naming your scene is an important step as it allows you to easily identify and recall that scene later. Make sure to choose a descriptive, intuitive name. For example, you could name your scene ‘Movie Night’, ‘Morning Routine’, ‘Romantic Dinner’, ‘Workout Time’, etc., based on what the scene does.

In this way, you can quickly set the desired ambiance or functionality at any time by simply activating the corresponding scene in the Savant App.

Step 9: Schedule the Scene

For further automation and convenience, the Savant App allows you to schedule your scenes to occur at specific times or events. This optional step can help automate your smart home experience even more.

For instance, you might want to schedule a ‘Wake Up’ scene to activate at 7 AM each morning, or an ‘Arriving Home’ scene to activate when your phone’s GPS detects you’re returning home. You could even schedule scenes around natural events, such as having your lights slowly turn on as the sun sets.

To do this, look for a scheduling option within the scene creation interface. From there, you can define the specific timings or conditions under which your scene will automatically activate.

Step 10: Test the Scene

No scene creation process is complete without a good round of testing. This step is crucial to ensure that your new scene functions as intended.

Once you’ve saved and named your scene, activate it to test its functions. Pay attention to each device included in the scene to verify that it changes to the status or level you’ve chosen for it.

If anything doesn’t go as expected, you can go back and tweak the scene settings until everything works perfectly. Also, consider repeating the testing process at different times of the day, especially if your scene includes lighting settings, to ensure it creates the desired ambiance whenever it is activated.

So, always remember that creating the perfect scene might take a few tries and a little patience, but the end result is worth it!

Conclusion

With Savant scenes, the power to automate your home is literally at your fingertips. Personalize your home and every event that happens in it to an extent that was once only possible in dreams. Whether you want to adjust the lighting for a quiet reading session – or set the mood for a dinner party – Savant has got you covered. Home automation with Savant isn’t just smart; it’s a way of life.

Scroll to Top